This post may contain affiliate links. I may receive a commission through purchases made through links from this post
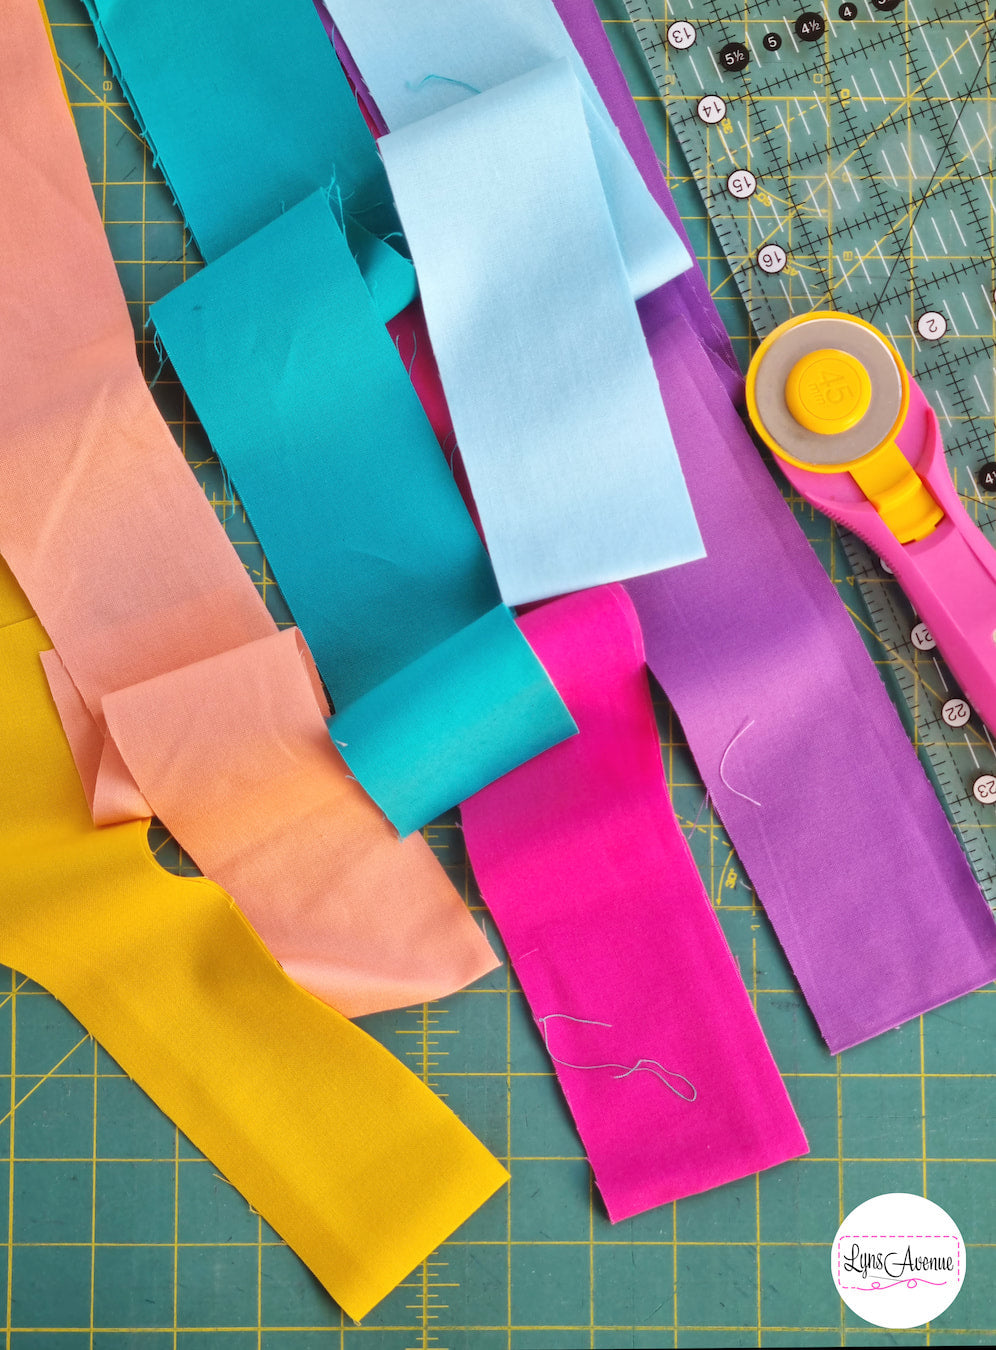
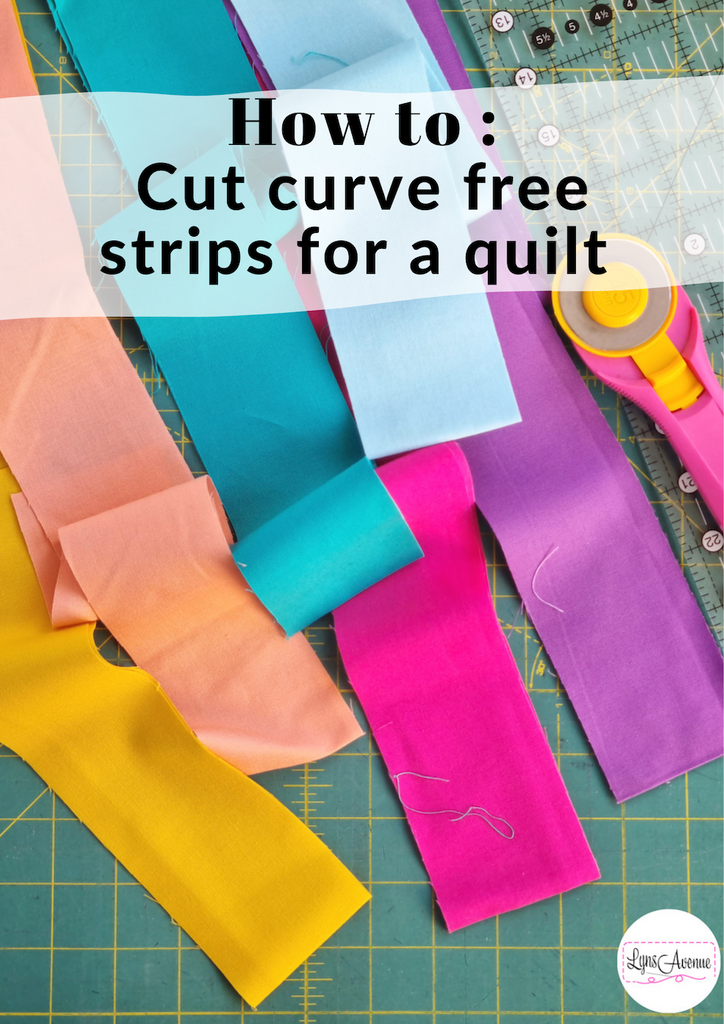
I love to buy my fabric in yardage which means cutting width of fabric strips can be a bit tricky. Have you ever cut your width of fabric strips and find they have a curve or bow along the fold. The cut, though you made sure to line up you fabric with the lines on your cutting mat and ruler, still resulted in a curvy wonky strip? That was totally me when l started but have since found a better way to cut my fabric strips and have them come out nice and straight all the time. Today l would like to share with you my way of cutting width of fabric strips that will result in a nice clean straight cut. I use this method all the time when cutting my strips and thought to share with you too, if you also run into this problem of the curved strip. You can use this method to cut multiple strips without the need to move your fabric too.

You will need:
Fabric yardage
Rotary cutter
Self-healing Cutting mat
Quilting ruler

Press your fabric if needed. Lay the fabric down on your cutting mat and fold it in half lengthwise, with selvedges matched together. You will have the newly folded edge closest to you. Make sure that the fabric is lying flat without creases or wrinkles. Smooth these out if they do happen as you want your fabric to be completely flat and smooth.
P.S don't worry about the lines on your cutting mat, in fact, ignore these lines altogether and just worry about your fabric and ruler.


Squaring up your fabric
Remember earlier l mentioned not to worry about the lines on your cutting mat? Yep, here's why;
lining up your fabric with the lines on your cutting mat will not always result in achieving consistent accurate strips. It's harder to make sure that your fabric remains aligned with the lines on the mat with each cut you make. What you want to worry about though, is your ruler and fabric and how these two are sitting together. As you can see, l'm using the back of my mat without the lines to cut my fabric strips.
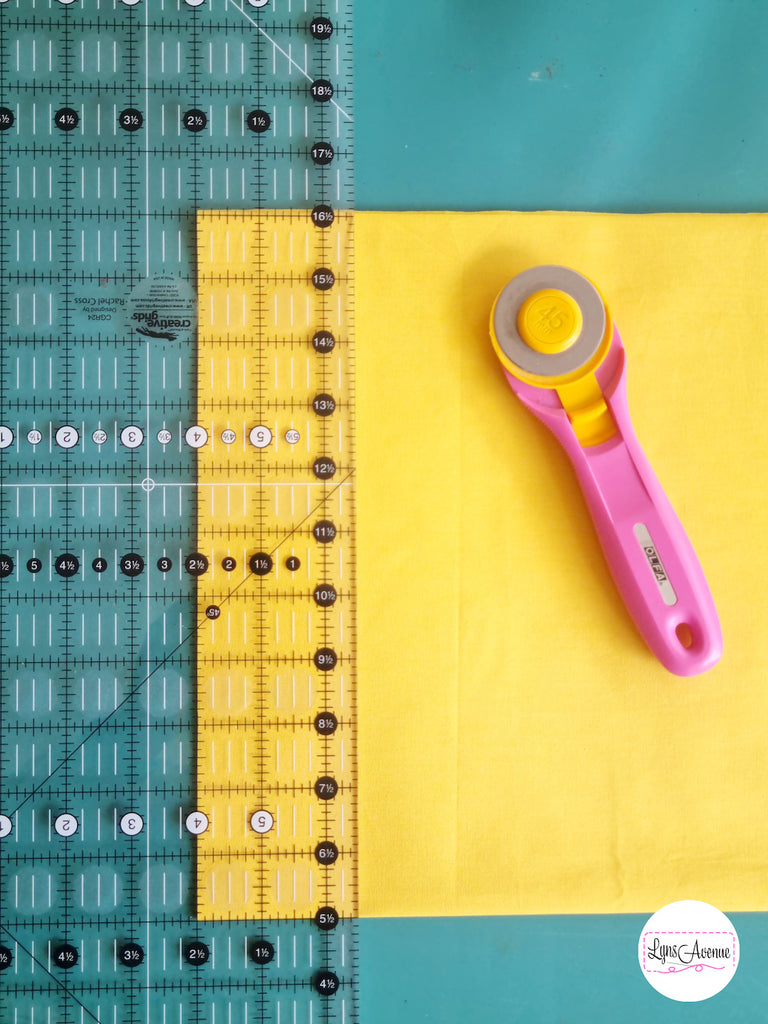
With that said, let's begin by squaring off your fabric in order to have a nice clean straight cut which you will use as a starting point for cutting your fabric strips (the base, so to speak). Align one of the horizontal lines on your quilting ruler with the folded edge closest to you, making sure to clear the uneven edge of the fabric. I find my go to 6 1/2" x 24 1/2" ruler works well for this, if you have a square ruler, that works perfectly fine too. Check to make sure that the fabric is cut through before moving your ruler. Using a sharp rotary cutter will be super helpful to ensure you get a nice clean cut.
Ooops, l forgot to take a photo to show how to position your ruler before l squared up my fabric but second photo shows you how to.
1. Folded fabric ready for squaring up

2. Align your horizontal line with the folded edge closest to you

3. Cut the uneven edge off.

Cutting Single Strips
With your fabric squared up, it's time to cut your strips. For the purposes of this post, l will be cutting 2 1/2" strips. Align the horizontal line of your ruler with the folded edge closest to you and the 2 1/2" vertical line with the cut edge and cut. You will want to make sure that you are cutting your strips at a right angle because failure to do this will result in wonky curvy strips. You do this by aligning your vertical line measurement with the straight edge of the fabric and the horizontal line on your ruler with the folded edge.
1. Place your ruler with the 2 1/2” vertical line aligned with the straight edge and align a horizontal line with the folded edge
A close up of how your ruler and fabric should be working together

2. Your cut 2 1/2” strip

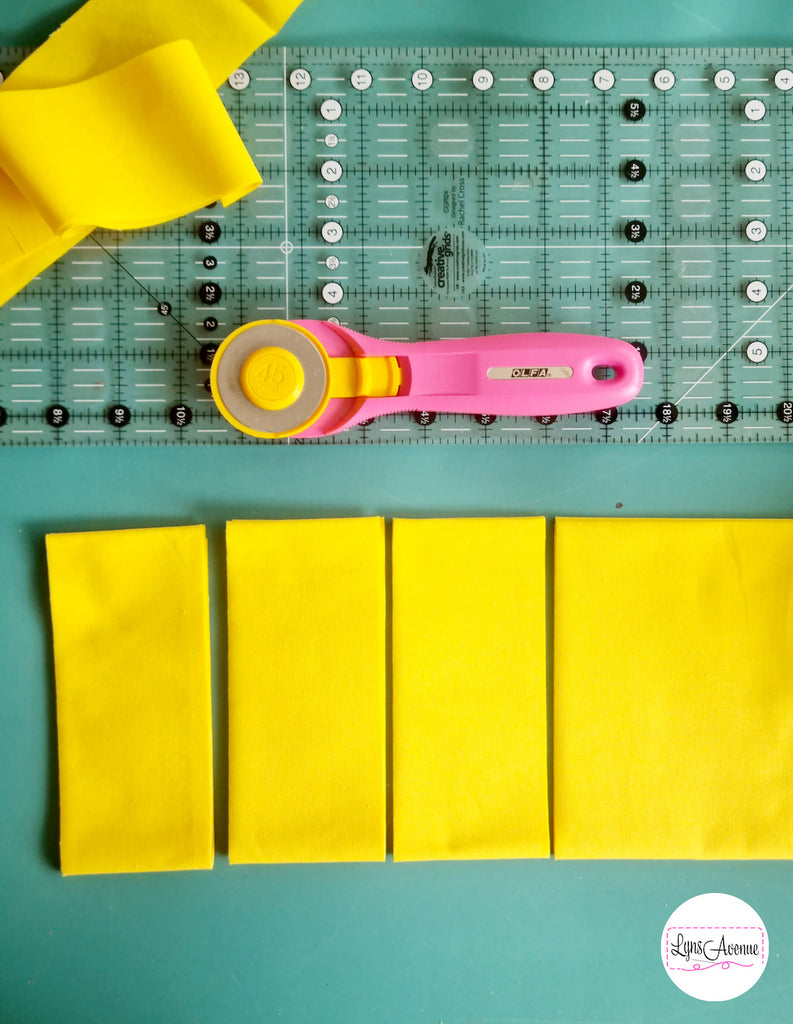
Cutting Multiple Strips
If cutting multiple strips from the same fabric, calculate the width of one strip by the total number of strips you are cutting e.g If l'm cutting (4) 2 1/2" x WOF strips, l will need to multiply 2 1/2" x 4 = 10". Lay your ruler on top of the fabric with the 10" vertical line aligned with the cut side of the fabric. You are essentially going to be cutting backwards going down 2 1/2" steps e.g 10" - 7 1/2" - 5" - 2 1/2”. Begin by cutting at 10” then move your ruler to align the 7 1/2” vertical line with the straight edge and so on. If your ruler width does not cover the fabric, fold your fabric over again in half as shown below.
1. Depending on the ruler you use, you may need to fold your fabric in half again

2. Lay your ruler on top of your fabric starting at the 10" mark and cut

3. Move your ruler to align the straight edge with the 7 1/2" vertical line and cut

4. Move ruler to align the straight edge and ruler at the 5” vertical line and cut.

5. Align at the 2 1/2” vertical line and cut.

6. You’ve got yourself four nicely cut straight fabric pieces
There you have it some nice straight strips with no curves along the fold for your binding or quilty project.


I hope this tutorial helps you with cutting your fabric strips for your quilty projects or making binding strips. Remember to always focus on your fabric and ruler placement to always cut at a right angle.


2 comments
Marie, you know how to make a girl happy! It makes me happy to hear this and looking forward to sharing more quilty stuff with you.
Oh my, after 2 tutorials I now know much more than 12 years with my quilt-teacher…. Think I stay with you instead and learn more! Thank you for sharing so much great information.